Historical interview: The following preserves the research experiences and personal views expressed in the original manuscript.
3D printing means just what the term suggests: printing and accumulating material layer by layer to create a three-dimensional shape. The concept of 3D printing actually began to emerge in 1970, mainly through light-curing technology.
Around 2009, however, 3D printing began to make a strong impression on the public. The technology in question was fused deposition modeling, and the familiar process of printing with plastic is one example. A filament of heat-softening material is heated until it melts, then printed layer by layer to form a three-dimensional structure. 3D printing is gradually being used in different fields, including bioprinting.
Traditional methods versus new technology
Compared with conventional production methods that use molds, what distinctive advantages does 3D printing offer?
Orange Soda: With conventional methods, making an object first requires a mold, which is then used to cast the desired structure.
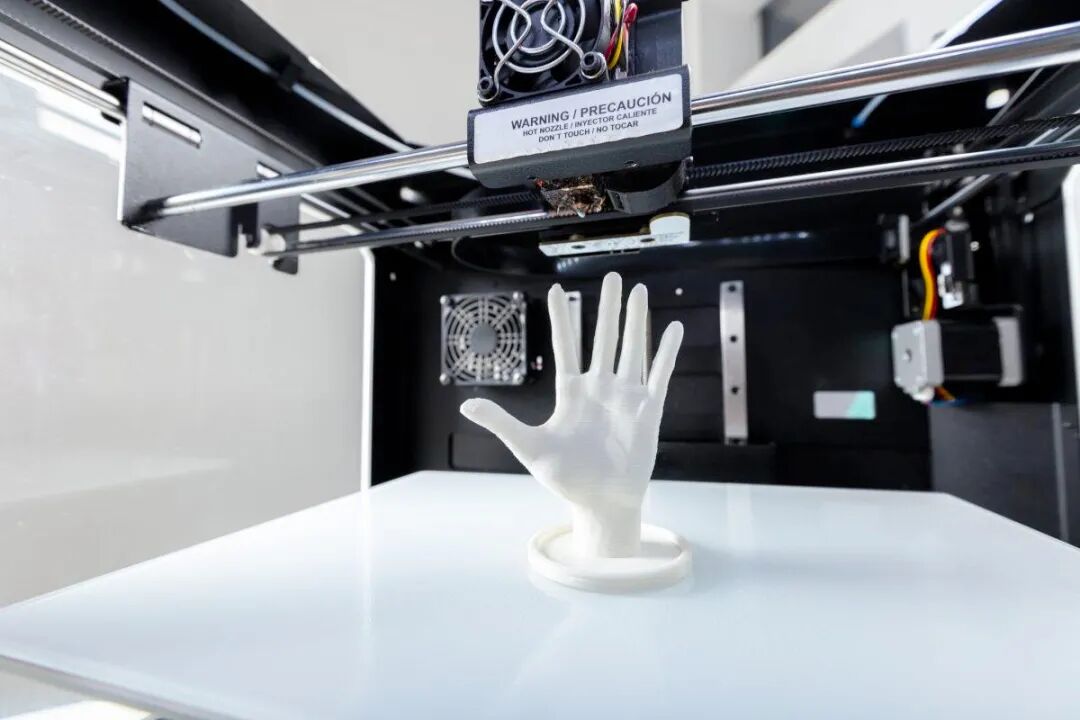
The biggest difference between 3D printing and conventional technology is that it can save time. It eliminates complicated steps, requires no mold, and forms the object in a single fabrication process. For example, if I want a particular shape, I can produce it quickly with 3D printing. In theory, it can print all kinds of structures.
One user-friendly aspect is that if I need a structure, I only have to model it before printing it. With conventional technology, I may first have to make a mold, and molding is a relatively complicated and troublesome step. Put another way, conventional manufacturing is a subtractive process, whereas 3D printing is an additive process.
Is 3D printing cheaper financially?
Orange Soda: The financial cost depends on the field. In my view, conventional technology is certainly cheaper for mass production, because once you have made a mold, you can keep producing parts. 3D printing may not have such a strong advantage in mass production.
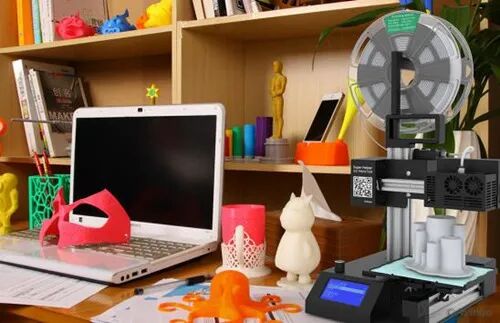
So 3D printing may not have a very large cost advantage. If the aim is not mass production, though—for example, if I need a special shape—then it has an advantage. This makes the technology more suitable for personalized customization and well suited to home use. Many people now have home 3D printers. If I want a phone stand, for instance, I can print a usable structure myself. The cost of a phone stand is fairly low for us, and I can choose whatever shape I want.
What distinctive advantages does 3D printing offer in precision and controllability?
Orange Soda: It is not necessarily better than conventional technology. 3D printing is a broad concept with many categories. Take bioprinting: it is not quite the same as conventional plastic printing. Bioprinting includes inkjet methods, comparable to an inkjet printer, with relatively high precision. Other methods include laser-assisted, light-curing, and extrusion-based 3D printing.
Extrusion is relatively the most widely used printing method, but its precision is somewhat lower. The other 3D printing methods are comparatively more precise. Overall, however, I feel they still do not achieve the precision of conventional printing technology. Achieving high-precision printing also requires a much larger investment.
Four modes of 3D printing
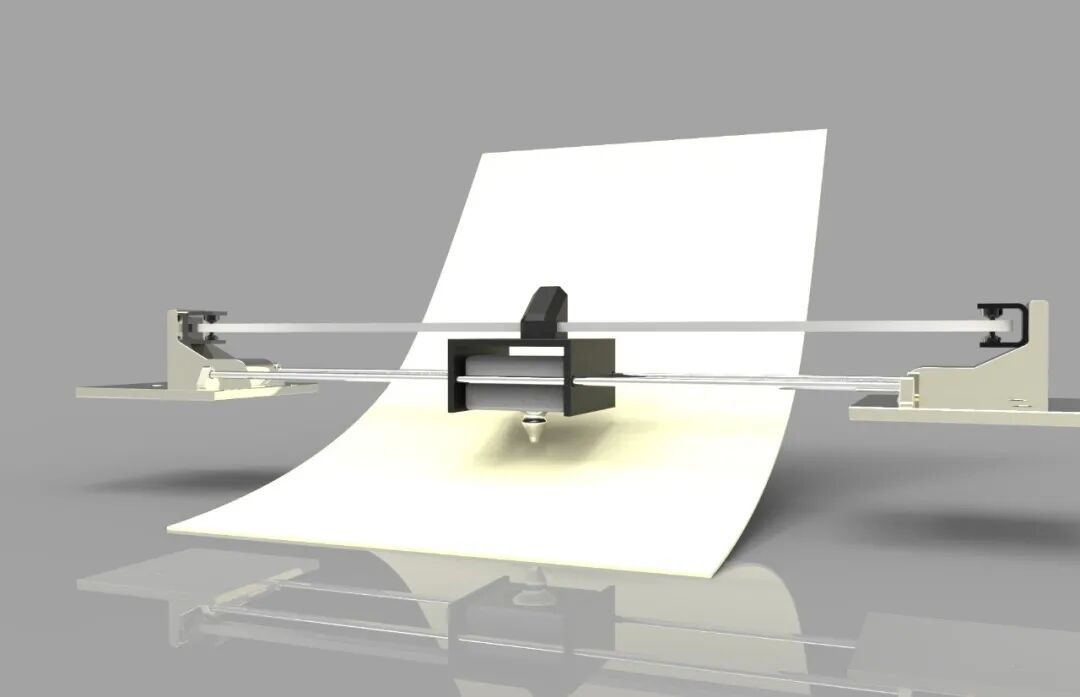
1. Extrusion-based 3D printing.
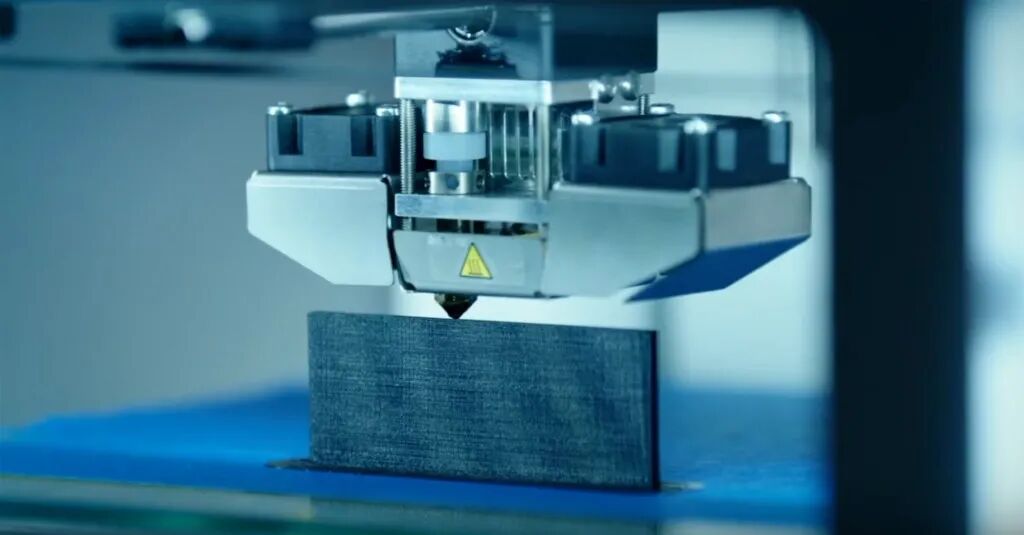
Orange Soda: Extrusion is the most widely used bioprinting technology, but its precision is somewhat lower because it is determined by the size of the nozzle. At present, the smallest nozzles are about 100 micrometers in diameter. If you have particular requirements, you can also make a nozzle by pulling glass, bringing the diameter down to 30–40 micrometers. Because such a nozzle is made of glass, though, it breaks easily. That is one disadvantage.
2. Inkjet 3D printing.
Orange Soda: Inkjet printing uses either piezoelectrically or thermally driven printheads to eject bioink one droplet at a time. The droplets accumulate through successive layers to form a three-dimensional structure. The key is ensuring that the droplets adhere to and fuse with one another. It is much like a conventional printer, except that bioink replaces the usual ink. For example, cells, or a biomaterial solution mixed with cell culture medium, can serve as a bioink for printing a 3D structure. It is mainly used for biological applications.
Because the driving pressure of an inkjet printhead is relatively low, it is limited to low-viscosity materials and low cell concentrations. Fabrication becomes difficult if the concentration is too high; low viscosity makes printing easier. However, structures printed from low-viscosity materials have lower strength, which makes subsequent handling more difficult. This narrows the range of biomaterials suitable for inkjet printing. The printhead may also cause mechanical or thermal damage to cells, another major disadvantage of inkjet printing.
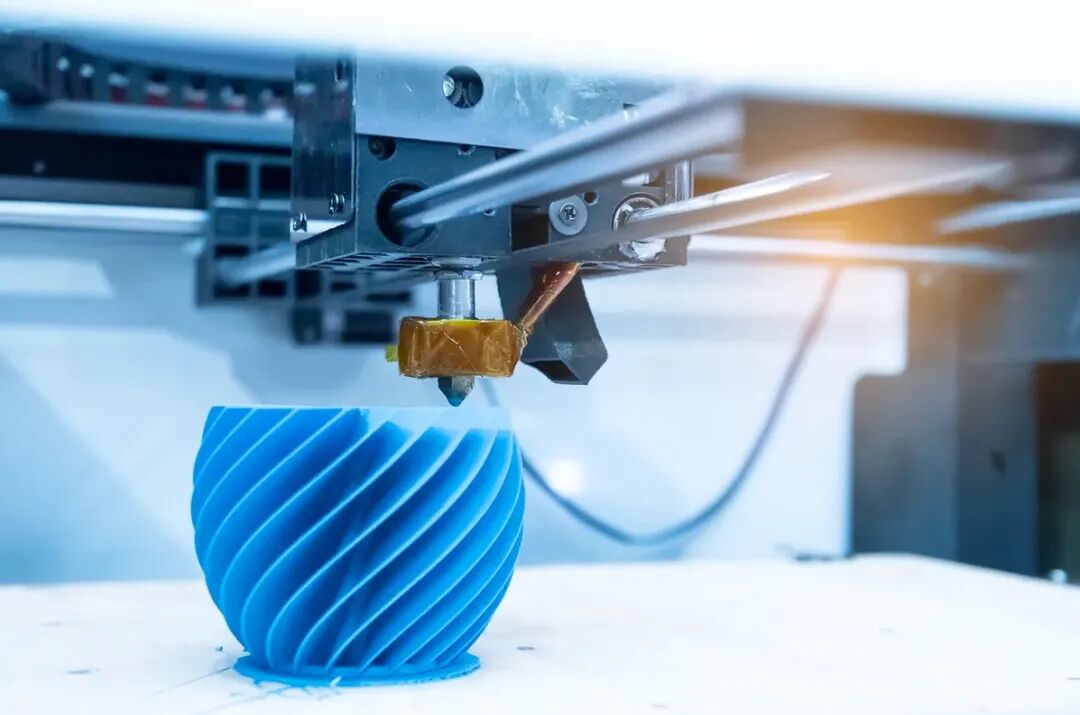
Calorie: Can we understand it simply as having a three-dimensional design, with the printer knowing what shape to print in each layer and then spraying material layer by layer until the 3D object gradually takes shape?
Orange Soda: In fact, all 3D printing works on the same principle. You design the three-dimensional structure you want, and the printer's software divides it into successive layers. Based on your chosen layer height—for example, 100 micrometers—the structure is sliced into n layers, each 100 micrometers thick. After one layer is printed, the second is printed, and they build up one layer at a time.
3. Laser-assisted 3D printing.
Orange Soda: Laser-assisted printing is somewhat different. A layer of laser-absorbing material is applied to a glass substrate, and bioink is spread evenly over that absorbing layer. The laser passes through the glass substrate and causes bubbles to form in the absorbing material. These bubbles propel bioink off the platform and deposit it on the receiving platform below. Moving the laser source allows a three-dimensional structure to be formed.
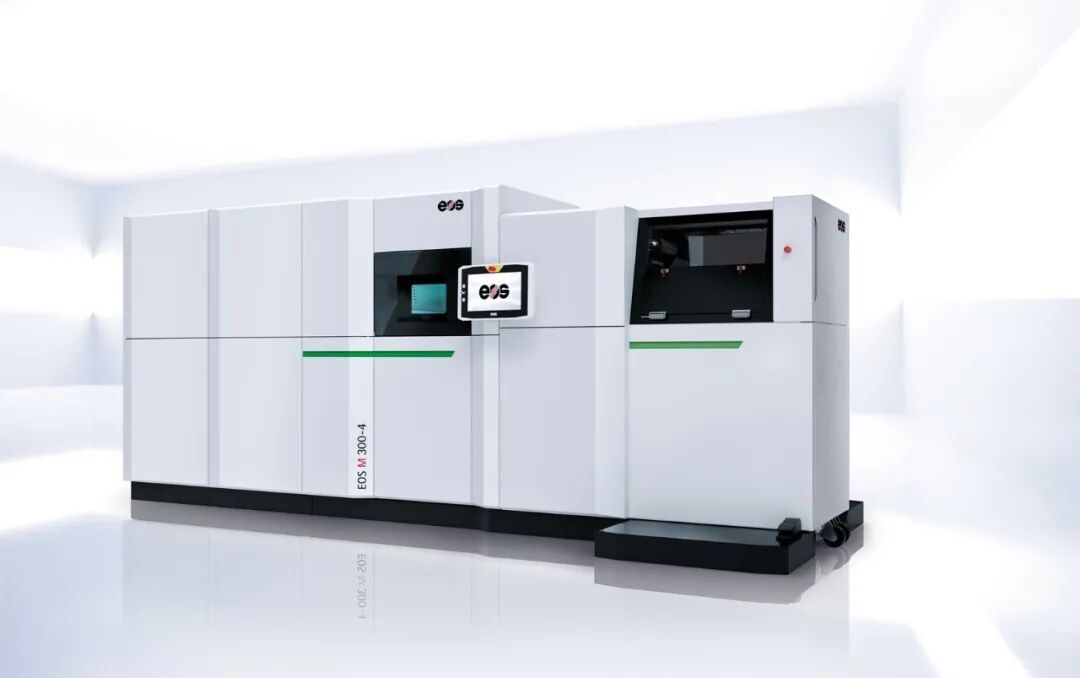
4. Light-curing 3D printing.
Orange Soda: In light-curing printing, all the material is held in a container. Inside is a platform that moves up and down. A digital micromirror device projects ultraviolet light onto the surface of the bioink. Material in the illuminated regions begins to solidify, while regions that receive no light do not crosslink. Once a layer has cured, the platform moves down by the corresponding distance—the printing layer height. Successive layers are cured to obtain a three-dimensional structure.
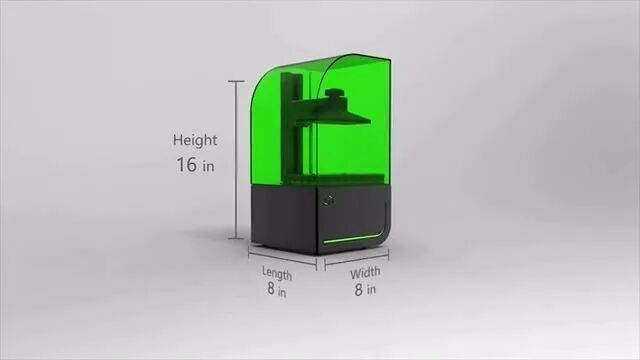
5. Are there currently any subtractive modes of 3D printing?
Orange Soda: Conventional manufacturing uses a subtractive process, whereas 3D printing is an additive concept. In biological applications, the approach is essentially bottom-up: small amounts accumulate into something larger. For metals or plastics, there may be subtractive modes, similar to an engraving machine.
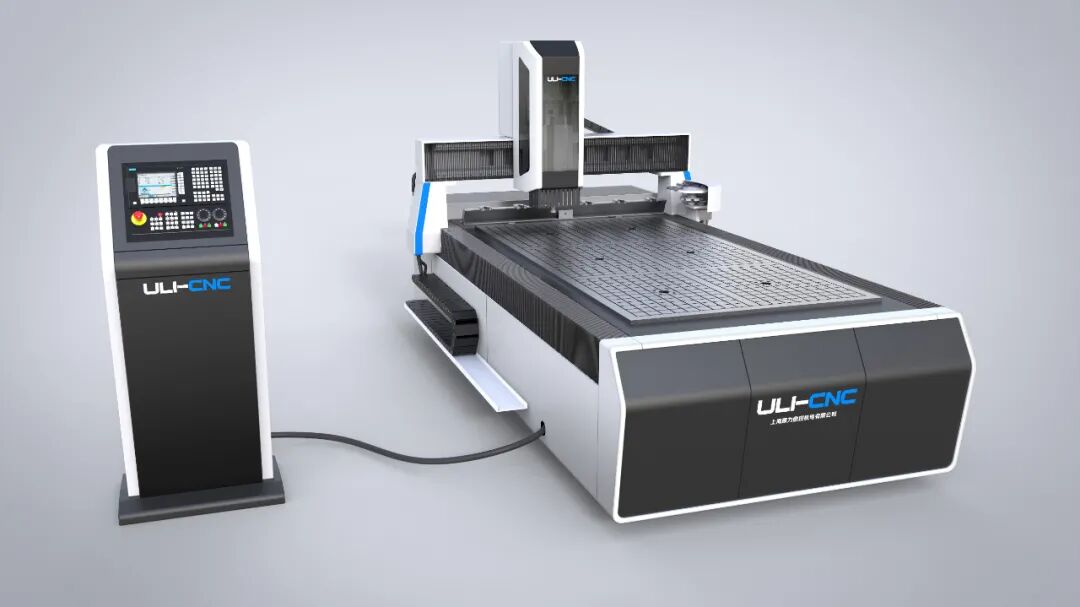
How to obtain a 3D-printed object
If you wanted to print a model of the Great Wall with a 3D printer, what would the practical workflow look like?
Orange Soda: To print a Great Wall, you first need to model it—that is, design its three-dimensional structure. You can draw a 3D structure in SolidWorks, save it as an STL file, and import the file into the printer's own software or a slicer such as Cura. In that software, you can set parameters such as nozzle diameter, printing speed, filament type, filament diameter, and infill density. Based on those settings, the 3D printing software slices the completed Great Wall model into successive cross-sections, each with its own printing path. You can then print it directly.
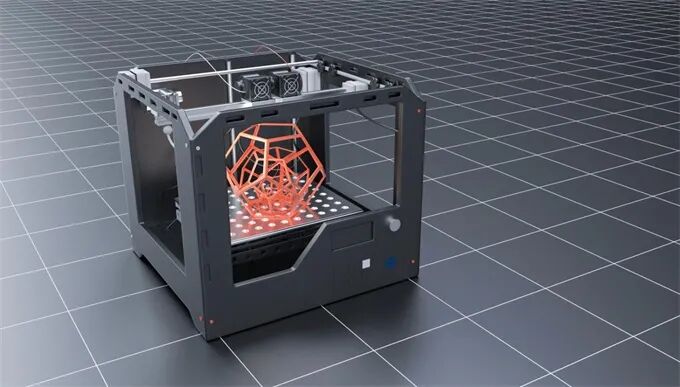
In terms of materials, plastic printing is the easiest to start with. PLA and ABS are two commonly used filaments, supplied on spools. Before printing, heat the nozzle, insert the filament, and let the high temperature melt it. A rotating gear gripping the filament controls extrusion. Once the material is extruded and reaches room temperature, it solidifies. Because the nozzle reads the cross-sectional information in the file during printing, it can readily form a single layer. When that layer is complete, the platform moves down along the z-axis by the thickness of one cross-section, and the second layer is printed. Repeating this process eventually produces a solid object.
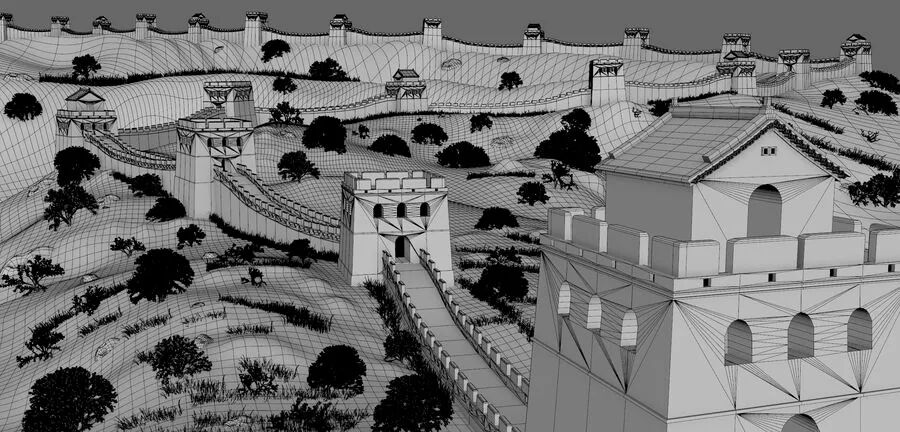
In general, the printed plastic structure is easy to remove from the platform. Before the solid Great Wall model is printed, a mesh-like base is printed to make removal easier, so it leaves no marks on the platform.
The only thing you need to watch before printing is the nozzle. It may become clogged, or it may extrude some material during its pre-printing calibration. You need to clean the nozzle promptly. If you do not, residual material on its surface may affect the structure you print. Overall, though, you can leave it printing and get the object you want after a dozen or more hours.
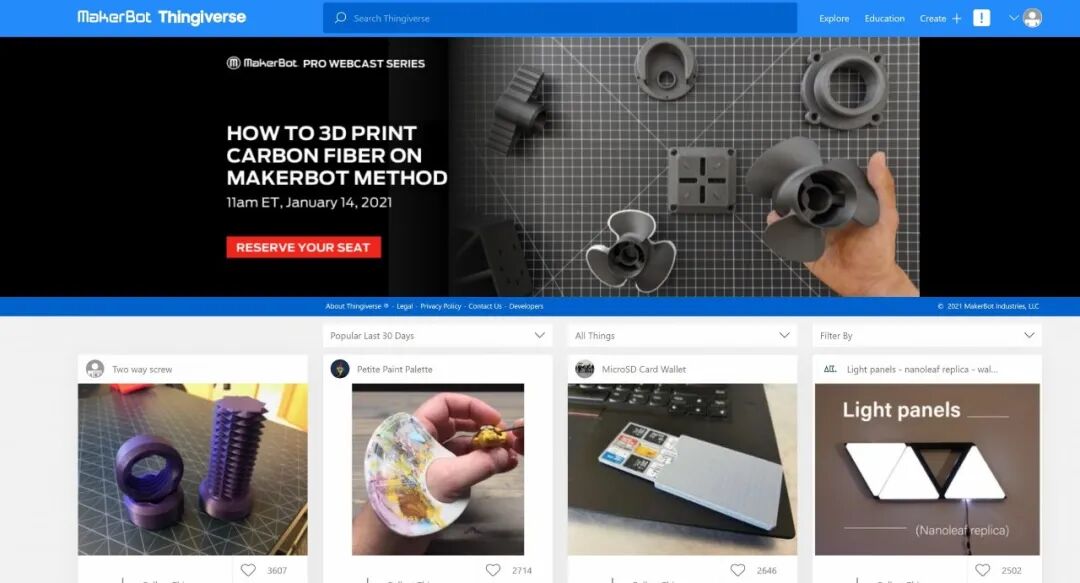
That is how plastic printing works. It is relatively straightforward, and beginners can get started easily. The only difficult part is designing a structure yourself. There are now many websites, such as Thingiverse, that provide ready-made 3D structures for everyone to share. You can download one and use it directly.
How long does it usually take to 3D-print a structure?
Orange Soda: It depends on the size. In fused deposition modeling, the familiar method of plastic printing, the printer's nozzle is fixed, generally with a diameter of 400 micrometers. The parameters hardly need changing, although you can adjust the nozzle's movement speed, usually controlled at 10–30 millimeters per second. Printing time therefore depends on the size of the structure you need.
What different requirements do printing materials have for different applications?
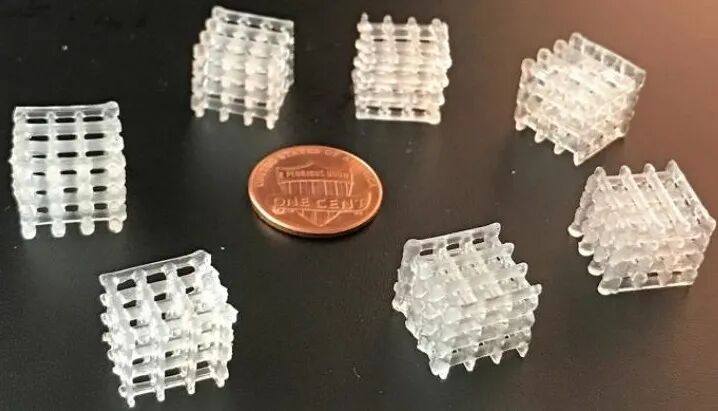
Orange Soda: Metals can also be used for 3D printing, but they require higher temperatures. In our biological work, biomaterials such as hydrogels can be 3D-printed. The most important requirement for a hydrogel used in extrusion-based 3D printing is that it exhibit shear-thinning behavior.
Science presenter: Orange Soda
Text editors: Fantuan, Calorie
Audio editor: Honey Peach Oolong
Interviewers: Fantuan, Calorie
Recording: Honey Peach Oolong
This article presents the author's personal views and does not represent the views of this website. The images were sourced from the internet; please contact us for removal if they infringe your rights.
Editorial clarification
3D printing is additive manufacturing; processes that remove material, such as milling and engraving, are subtractive manufacturing. The two should be distinguished. Conventional manufacturing also includes formative processes such as casting and injection molding, and should not all be described as subtractive. The figures and comparisons concerning nozzle size, speed, precision, and cost in this article are preserved as the interviewee's accounts of experience, rather than uniform standards for all equipment.
The exact starting point behind the manuscript's statement that the concept 'began to emerge in 1970' has not been verified. The company history of 3D Systems records Chuck Hull filing a stereolithography patent application in 1984 and the company's establishment in 1986. Those records alone do not establish the starting point of the entire early history of 3D printing.
Supporting references
NIST: What Is Additive Manufacturing?
NIST: Manufacturing Process Classification (NISTIR 8110)
3D Systems: Company Technology History
Sources and editorial history
Restored from a complete interview manuscript retained by the PhDSciNet Official Account. The original publication date remains unverified.